
I. Preparation Before Operation
Silage Storage Management
Remove a small section of the top plastic cover of the silage pile or bunker and inspect the exposed face.
High-quality silage should have a yellow-green color and a pleasant acidic fermentation aroma.
Any dark, moldy, or compacted spoiled layers must be removed and discarded before feeding. Do not allow contaminated silage to enter the TMR mixer.
TMR Mixer Inspection
Confirm that the weighing system of the TMR mixer is properly calibrated and reset to zero.
Check that the augers and knives are in normal working condition with no excessive wear.
Keep approximately 20%–30% free space inside the mixing chamber to allow proper material circulation during mixing.
II. Silage Loading (Silage Removal Machine Operation)
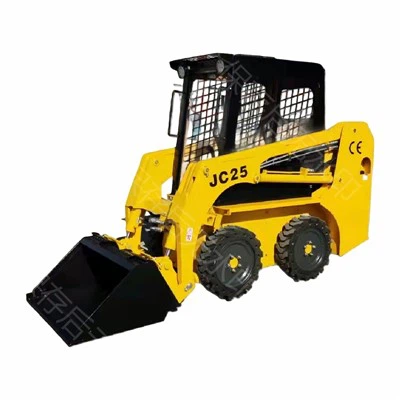
Use a dedicated Silage Removal Machine to cut vertically along the silage face.
Operating Requirements:
Remove at least 30 cm of silage depth per day to minimize exposure of the silage face to air and prevent secondary fermentation and mold growth.
Silage cut by the removal drum should fall directly into the receiving hopper or loader bucket, then be transported to the TMR mixer for loading.
⚠️ Do not use a front loader for rough digging or angled cutting.
Improper removal can damage the compacted silage face, introduce soil contamination, and mix spoiled material into the feed.
III. TMR Loading Sequence (When to Add Silage)
The standard feeding principle is:
Dry materials first → Wet materials later
Long fiber first → Concentrates later
Light materials first → Heavy materials later
Silage is classified as a wet roughage ingredient and is normally added after dry forage and concentrate ingredients.
Typical Loading Sequence (Horizontal TMR Mixer):
Long-stem hay / straw
Added first
Mix for several minutes while loading to reduce excessive fiber length
Concentrate ingredients
Corn
Soybean meal
Mineral and vitamin premixes
Sodium bicarbonate and other additives
▶ Silage
Added at this stage through the Silage Removal Machine
Wet by-products / Whole cottonseed and other supplemental feeds
Final moisture adjustment (if required)
Add a small amount of water or molasses at the end
Vertical TMR Mixer Notes:
The loading order may vary slightly. Some feeding operations may switch the order of concentrates and dry forage; however, silage should still be added during the middle or later stage of loading and should not be added together with dry hay at the beginning.
IV. Mixing Process and Quality Evaluation
Operate the mixer at low speed while adding ingredients.
After all materials are loaded, continue mixing for 5–8 minutes.
The total mixing time is generally 15–25 minutes.
Avoid excessive mixing, which can shorten fiber length and reduce effective fiber value.
Quality Standards for Properly Mixed TMR:
A well-prepared TMR should have:
Uniform distribution of roughage and concentrates
No separation of ingredients
Consistent color and texture throughout the ration
A loose structure that separates easily when held by hand and does not stick together
Penn State Particle Separator (PSPS) Evaluation:
For lactating dairy cows, a typical target distribution is:
Top screen (>19 mm): approximately 5%–10%
Middle screen (8–19 mm): approximately 40%–50%
This ensures sufficient physically effective fiber for proper rumen function.
V. Unloading and Feeding
After mixing, immediately transport the TMR mixer along the feed bunk and distribute the ration evenly at a consistent driving speed.
Start the unloading conveyor first, then open the discharge gate to ensure smooth feeding.
Feeding Management:
Prepare and feed TMR as close to feeding time as possible.
During hot weather, avoid long storage periods to prevent heating and nutrient loss.
Push up feed 2–3 times per day to encourage intake.
Control feed refusals at approximately 3%–5%.
Equipment Cleaning:
After feeding, clean residual material from inside the TMR mixer to prevent fermentation, acid buildup, and material caking.